How to Add a Teammate
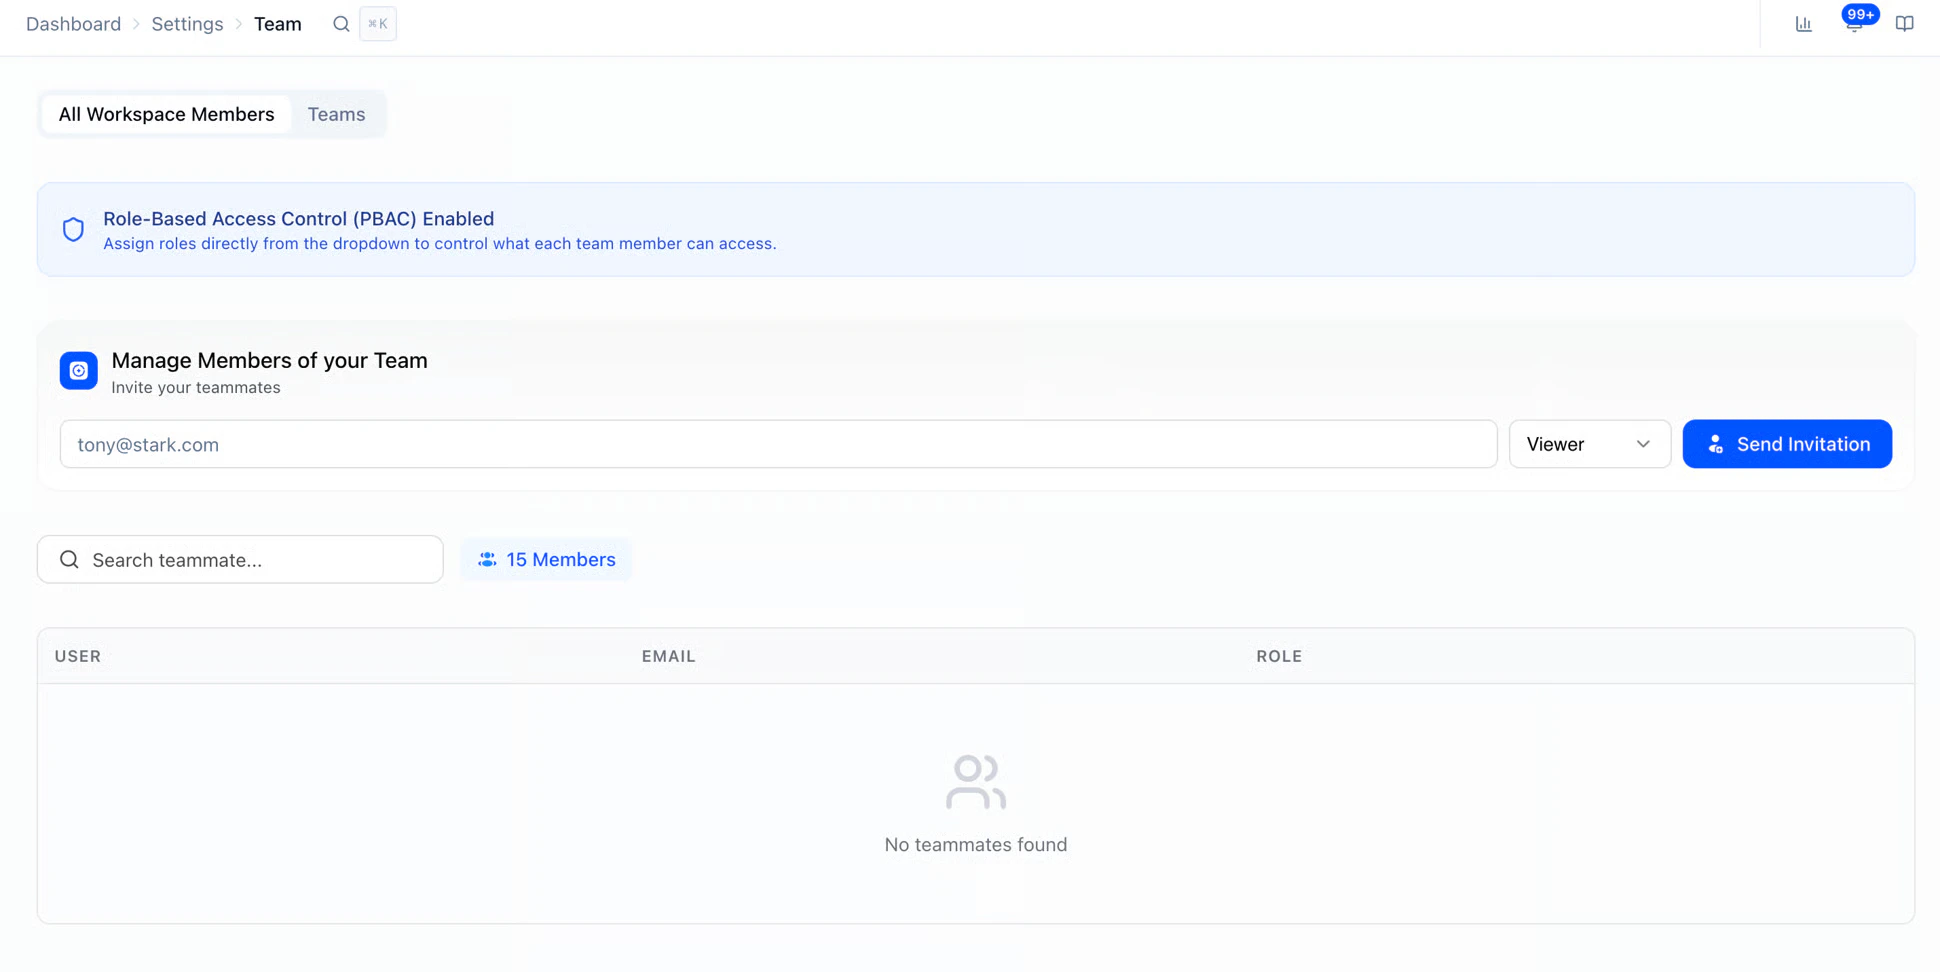
Teams
Once your workspace has a few members, you can group them into Teams so the right people see the right postings. Useful for orgs split by region, division, or function.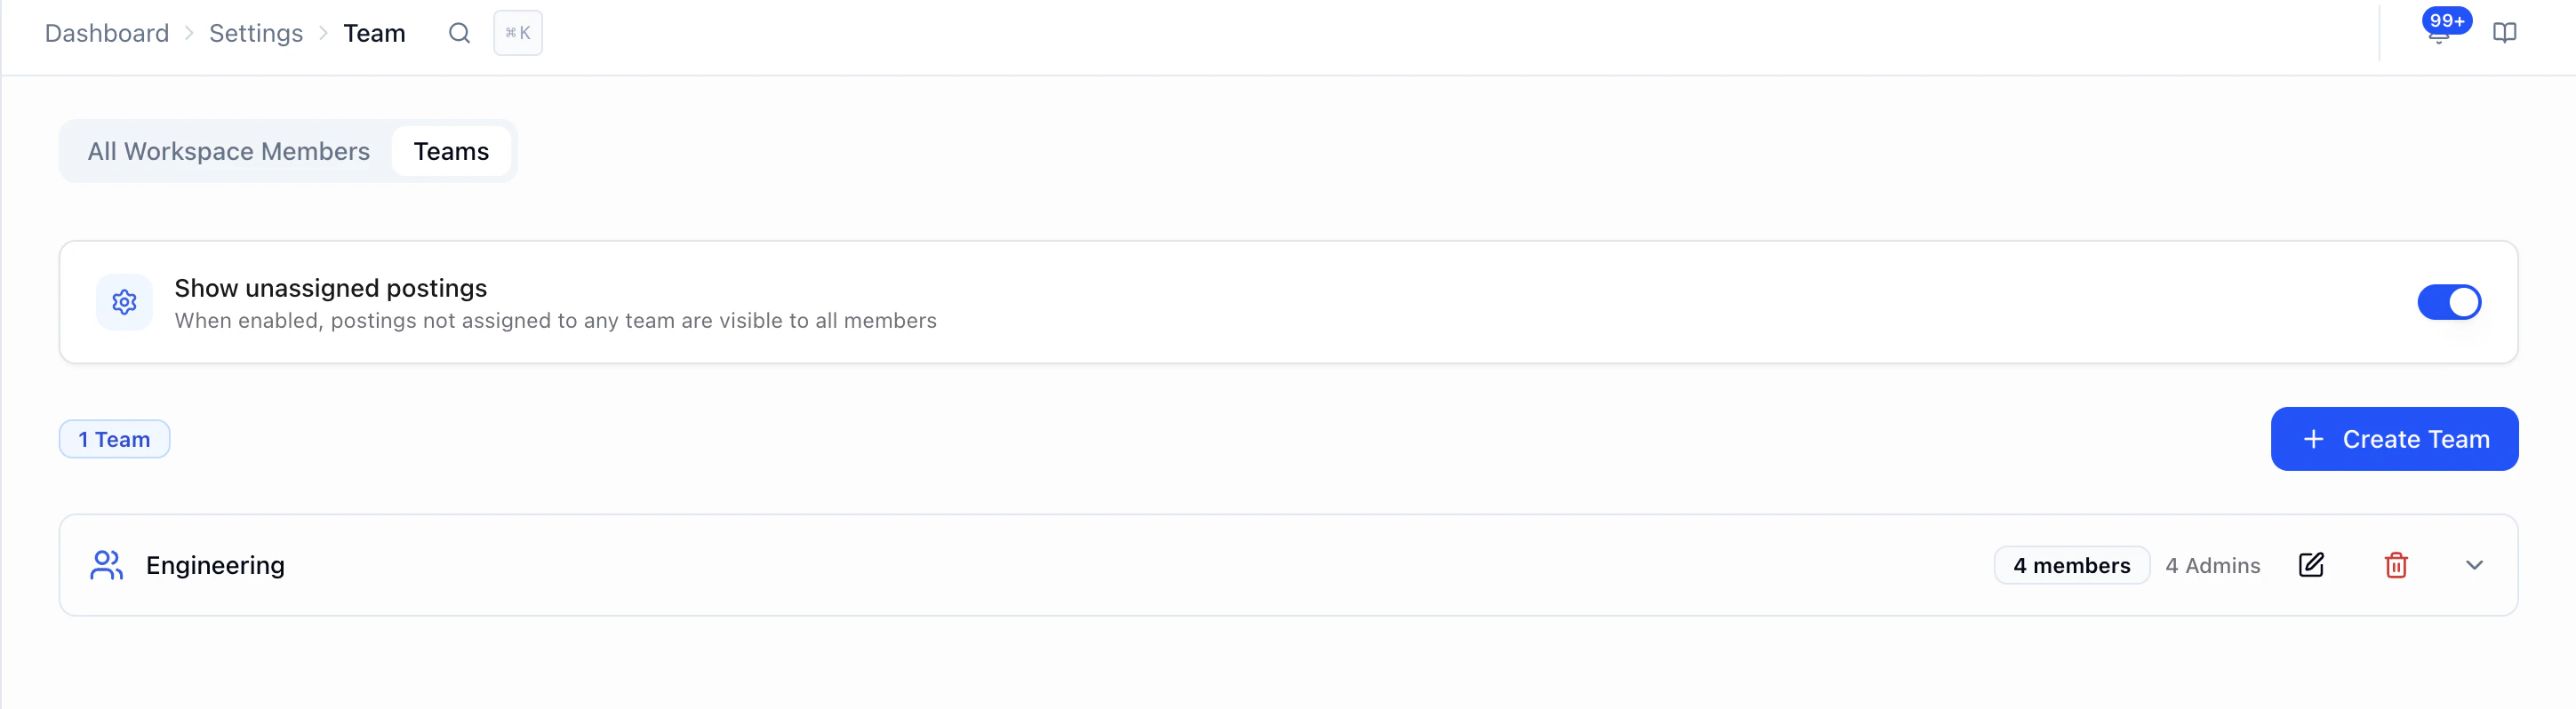
- Create a Team: click + Create Team and name it (e.g. Americas TA, EMEA Recruiting, Tech Hiring).
- Assign members: add Admins, Recruiters, and Viewers to the team. Each member’s role still controls what they can do; the team controls what they can see.
- Show unassigned postings: toggle this on if you want postings that aren’t tied to any team to stay visible to all members. Toggle off to keep unassigned postings hidden from team members.
- Edit or remove a Team: use the pencil icon to rename or update members, or the trash icon to delete.
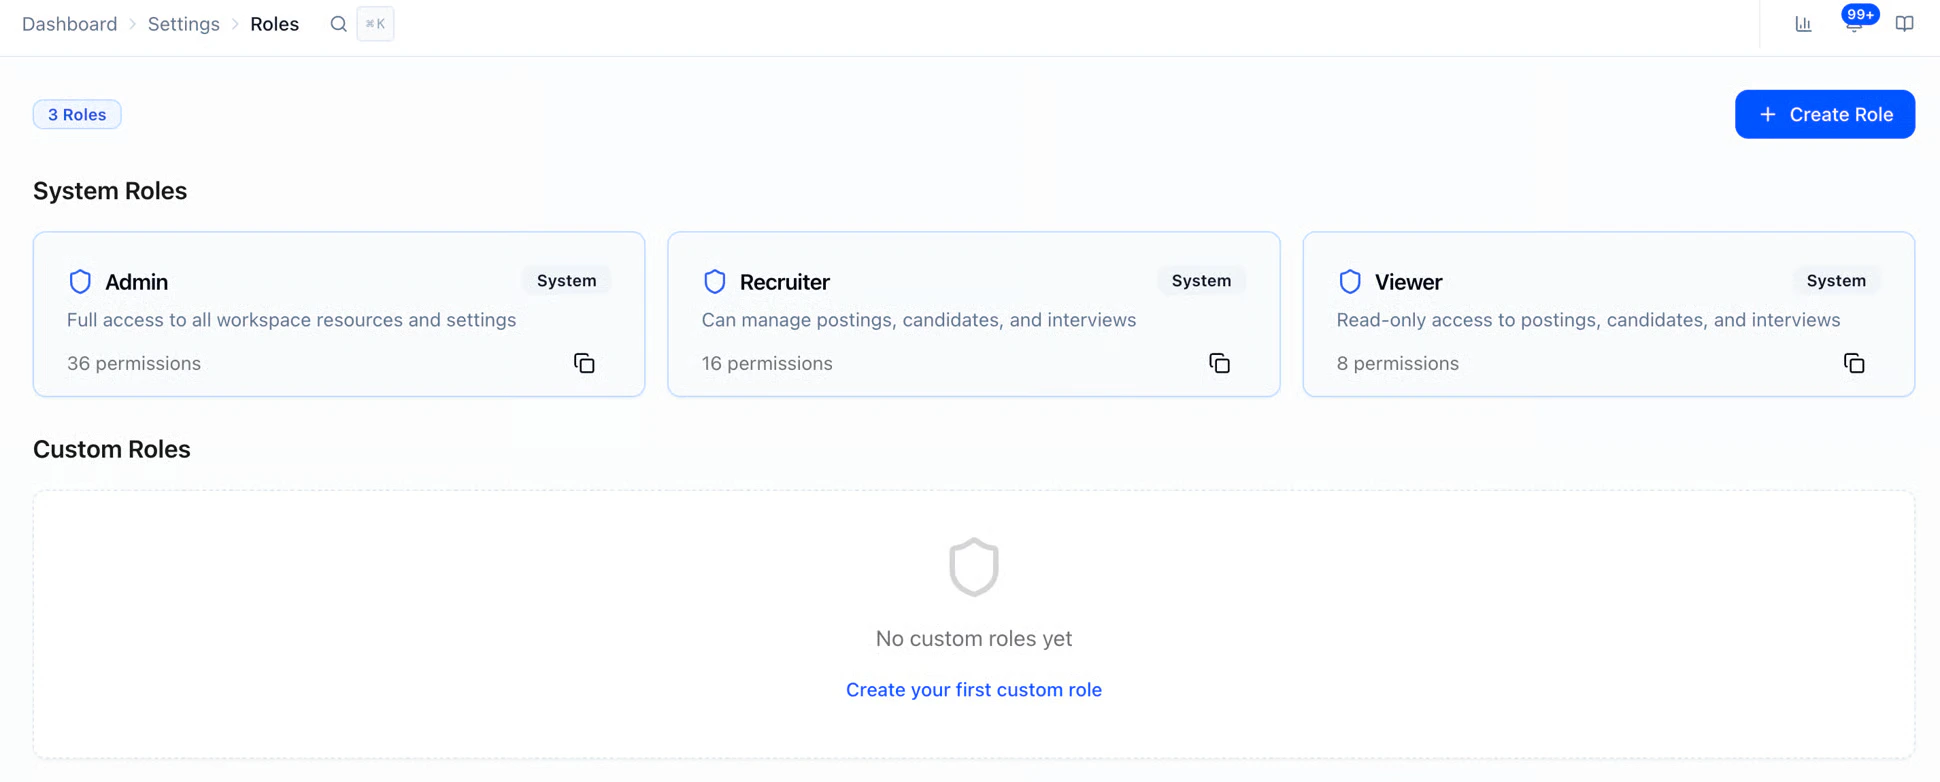
Roles & Permissions
HeyMilo offers three system roles, plus the ability to create custom roles. System Roles| Role | Read | Write/Edit | Delete |
|---|---|---|---|
| Admin | ✅ | ✅ | ✅ |
| Recruiter | ✅ | ✅ | ❌ |
| Viewer | ✅ | ❌ | ❌ |
How to Set Up Custom Roles
Managing Teammates
Enabling PBAC for Your Workspace
Permissions-Based Access Control (PBAC) must be enabled for your workspace by HeyMilo. Contact your CSM or support to turn on this feature.
Teams in Your Workspace
You can create teams within your workspace to organize postings by department, location, or brand.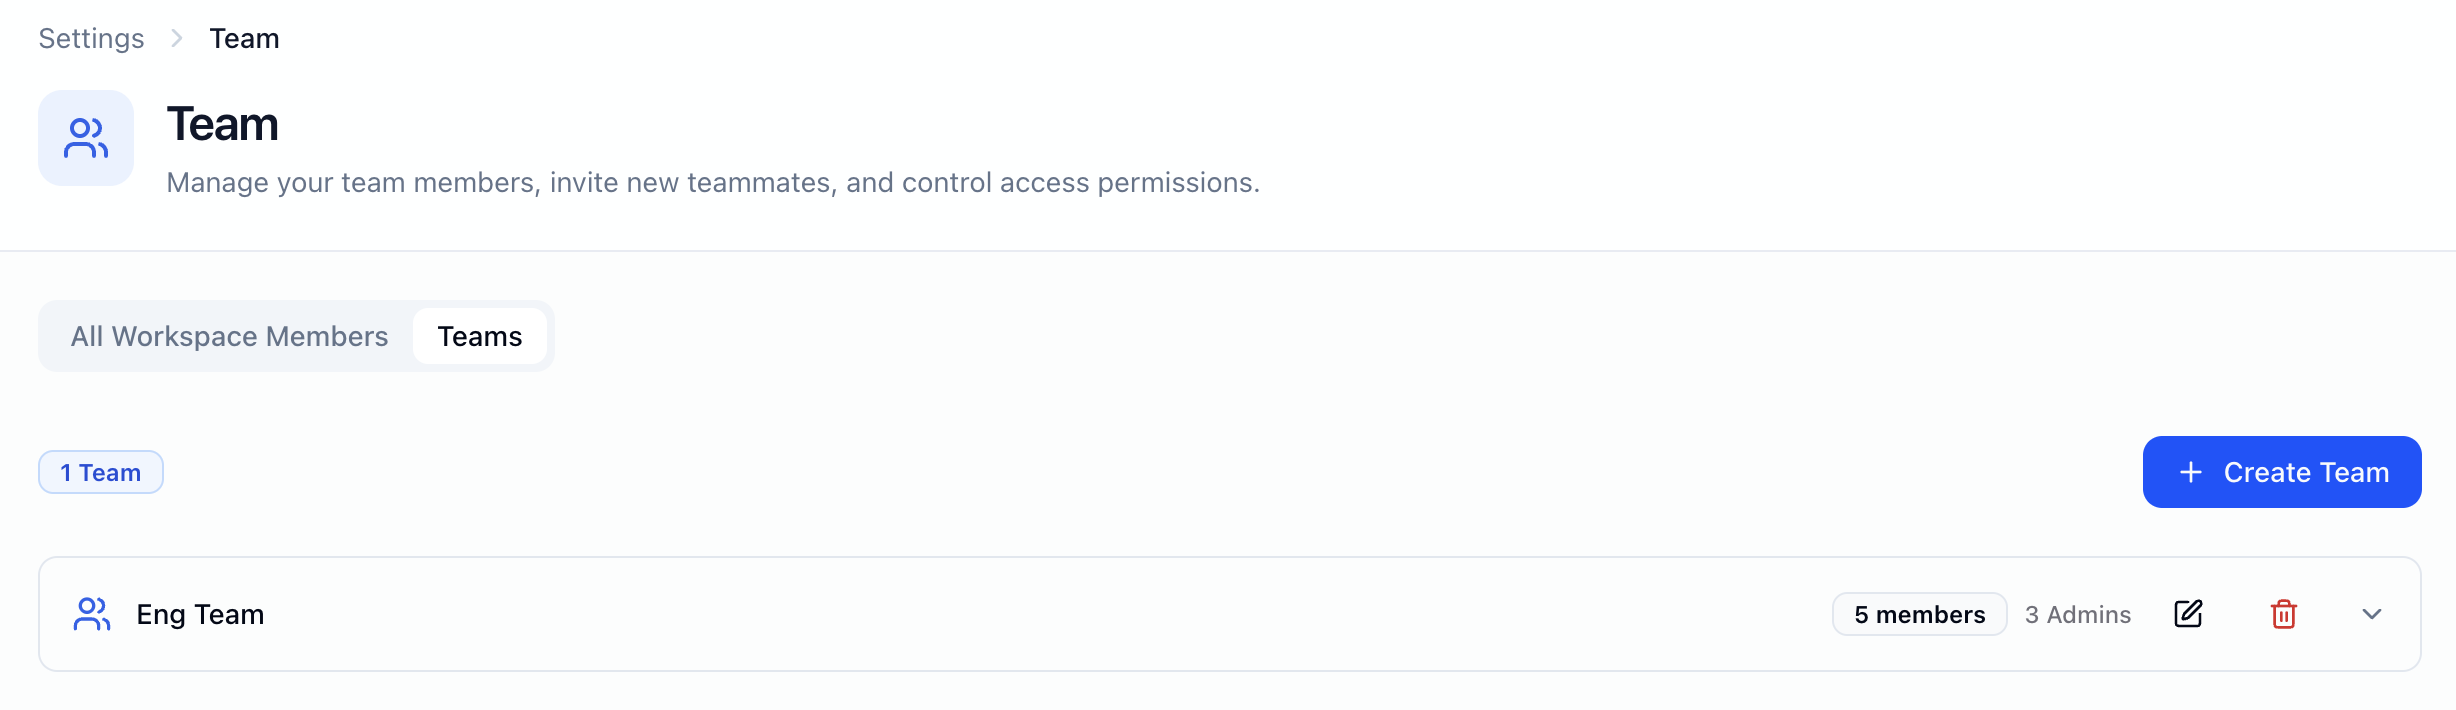
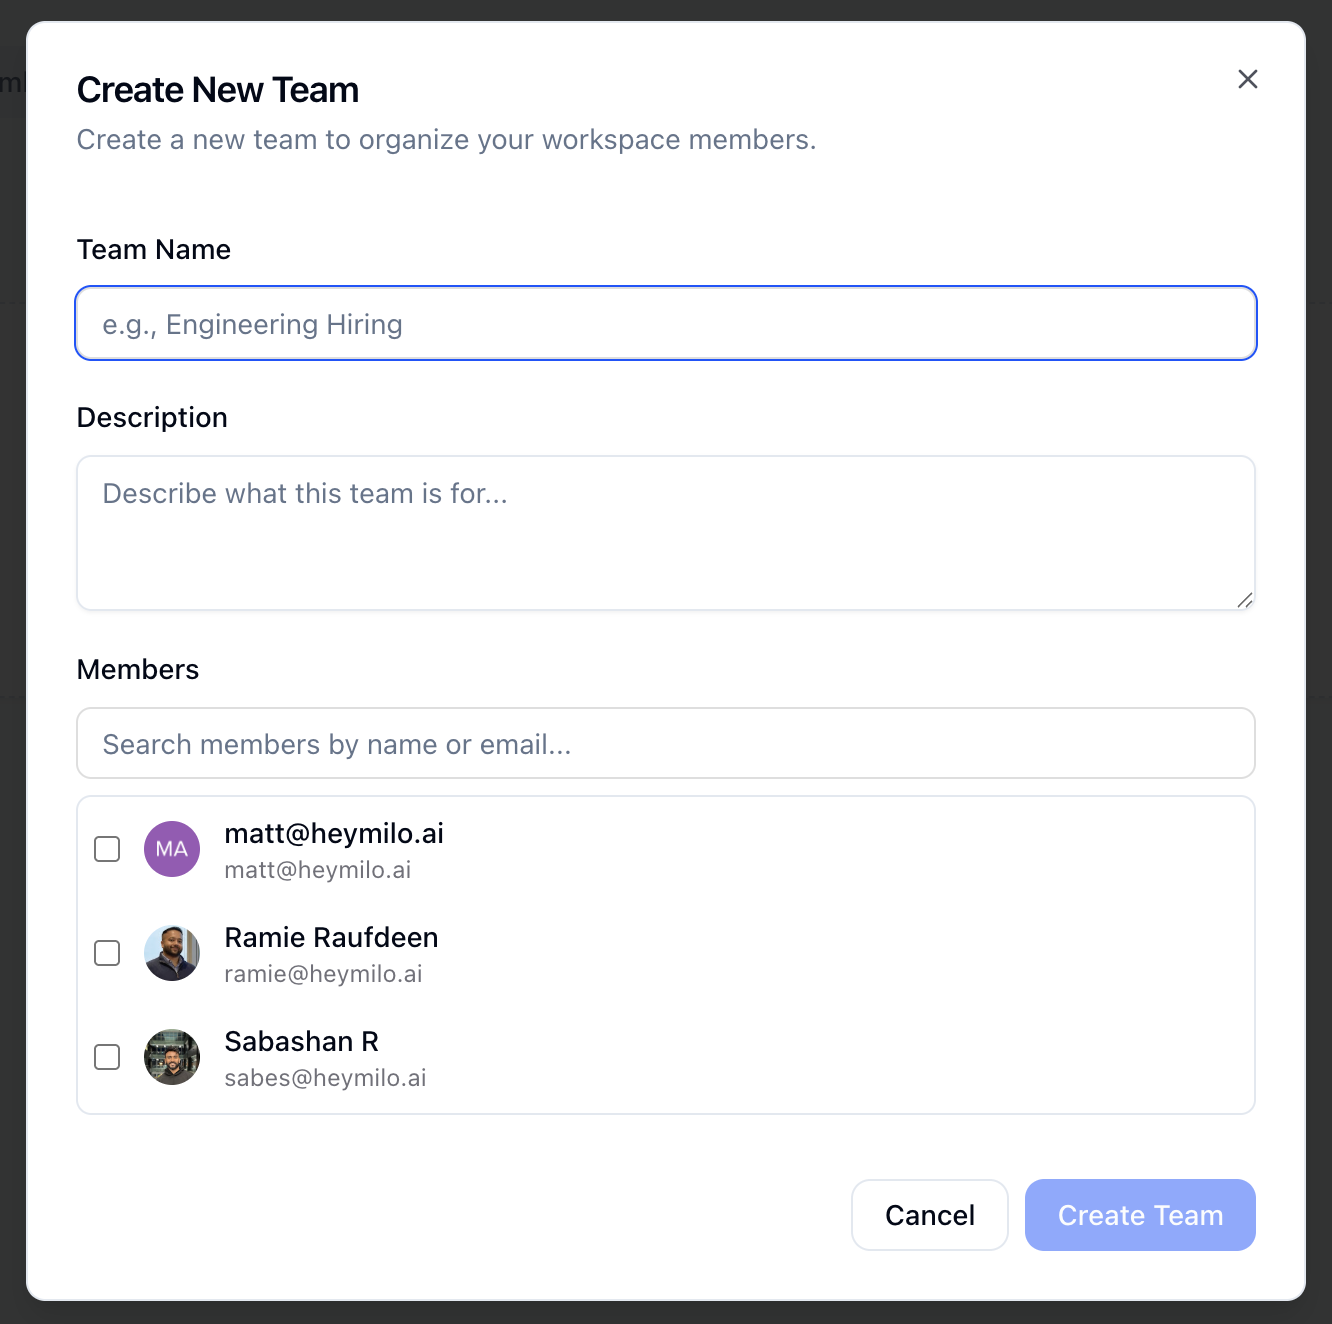
Name each team (e.g. “Sales Recruiting,” “West Region”) and add members as needed.
- Optionally add a quick description so members know what the team is for

- When you create an agent, it is created in the team space you’re currently in (or the team you have selected). That agent then “lives” in that team and is visible to others based on team membership and permissions.
- Agents are scoped to one team at a time.