My Account
My Account is where you edit your personal profile and see how you sign in. Open Settings → My Account (or your profile menu, depending on your workspace layout).
My Profile
- Avatar: Your profile picture
- First name / Last name: How your name appears in HeyMilo
- Email address: The email on your account
- Language: Interface language (for example English)
Connected accounts
You’ll see View your connected authentication methods — the list of ways you can sign in to HeyMilo.- Primary account: The main way you sign in (for example Google).
- Additional connected accounts: You can link another method, such as Email and Passcode, as a secondary account so you can still access HeyMilo if one method is unavailable.
Company Settings
Company Settings is the information HeyMilo uses to understand your organization. This helps the AI represent your company accurately during interviews and evaluations.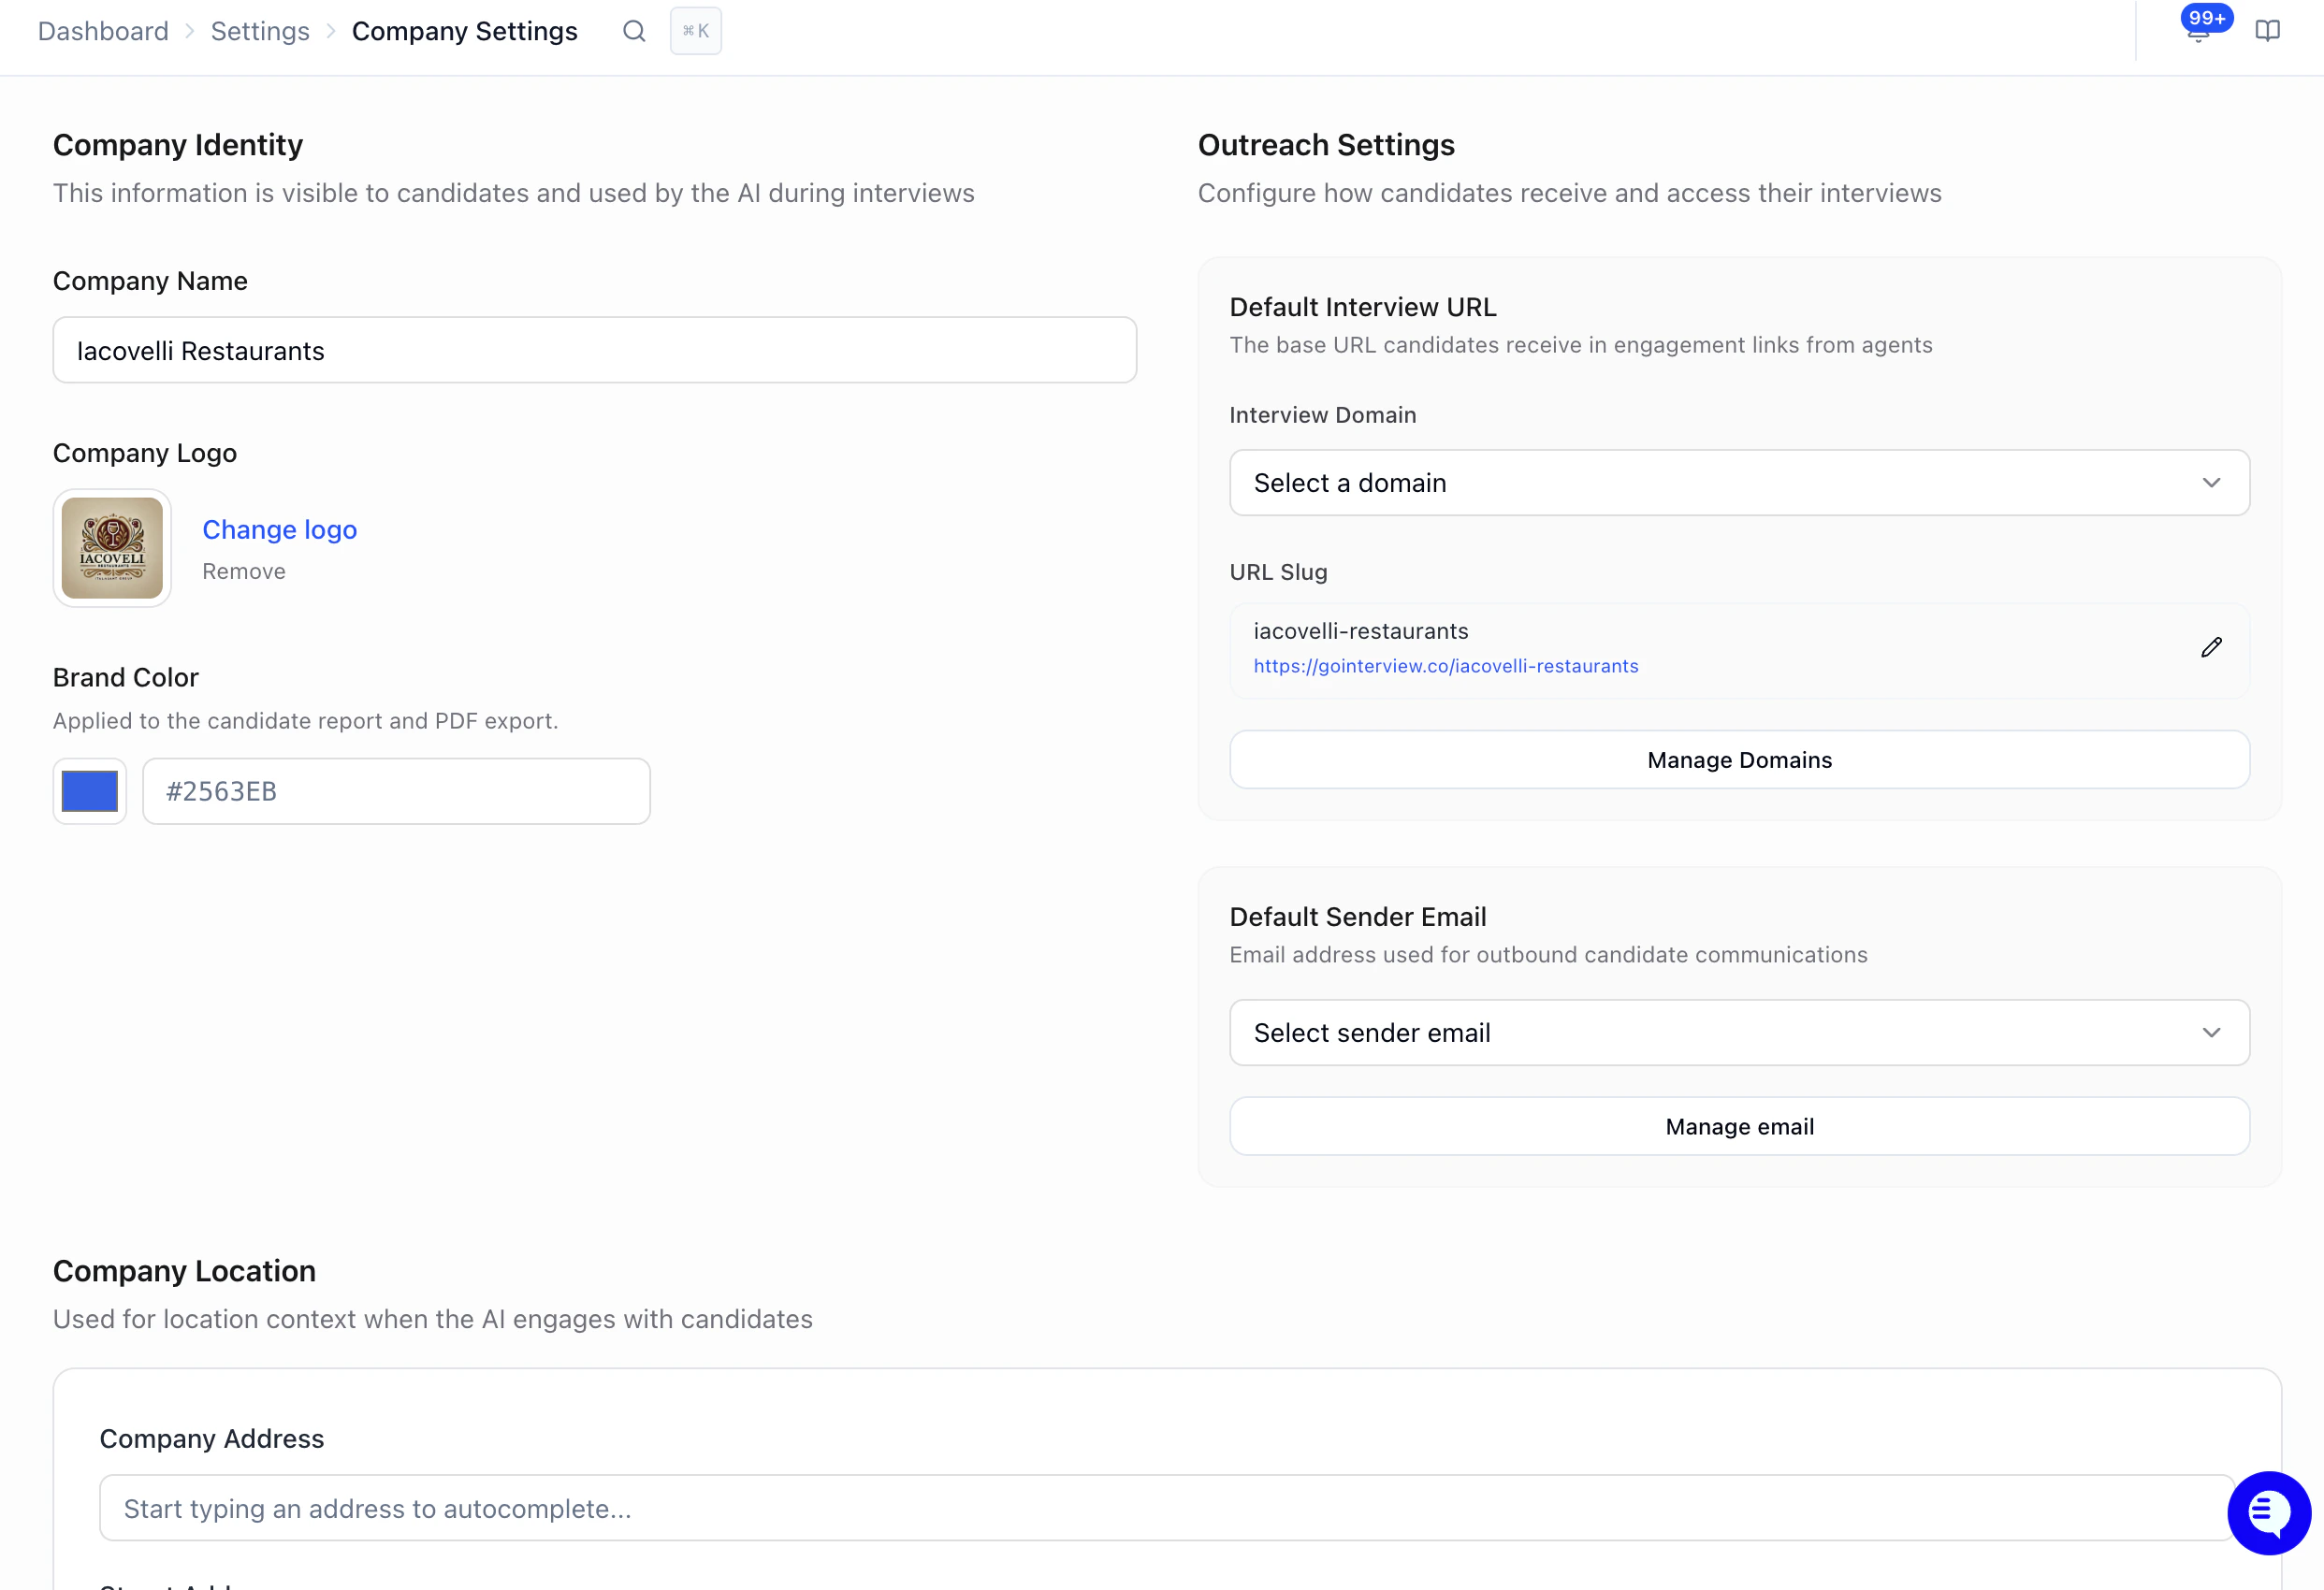
- Company name and logo: How your company name should appear to candidates
- Brand Color: Colours used in candidate reports.
- Outreach defaults: Interview domain and URL slug, sender email
- Company Location: Location context when the AI engages with candidates
Pro tip: Think of Company Settings as your AI recruiter’s onboarding packet. The more you tell it about your company, the better it represents you to candidates. Update it whenever your company messaging changes.
Candidate Communications
Candidate Communications controls how HeyMilo emails and texts candidates on behalf of your company — same Settings → Company Settings area.
- Turn Off All Candidate Communications: Disables all automated emails and SMS sent to candidates. Use this to pause HeyMilo’s default automated outreach when you don’t want any system messages going out (for example, while you route comms manually or through another tool).
Next Steps
- Team & Roles — Add team members and set permissions
- Knowledge Base — Add detailed company info for the AI to reference during interviews