Step-by-step
Follow the steps below to turn jobs from your ATS into interview agents automatically.How to create an interview agent from an ATS job
Confirm your ATS is connected
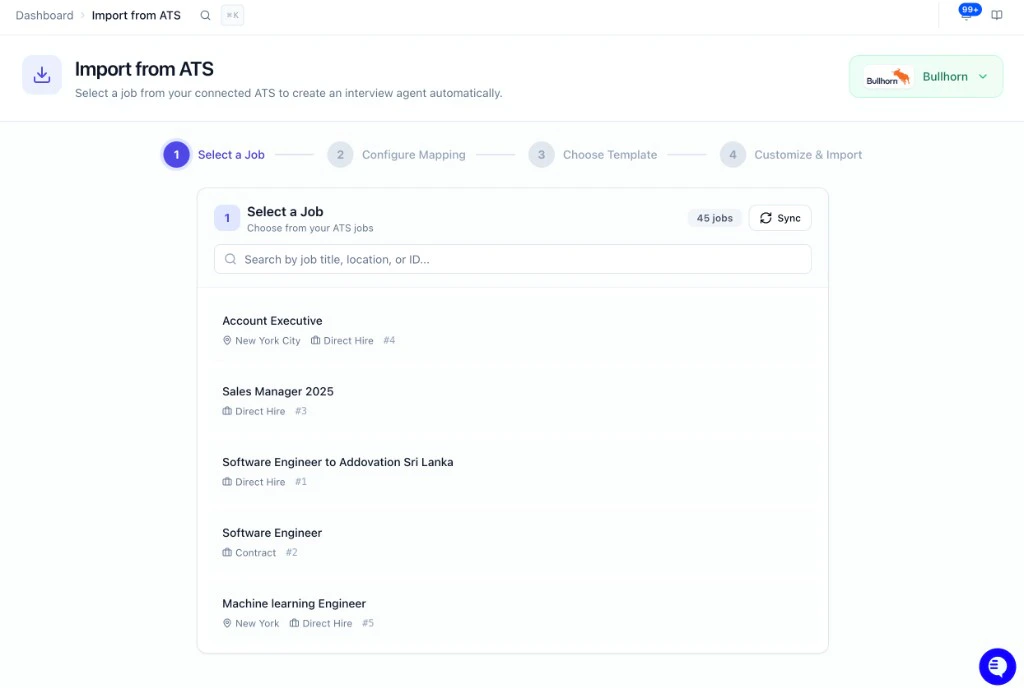
Select a job
Click the job you want to use. Use Sync to refresh the list from your ATS, or search by title, location, or ID. Once selected, save and move to the next step.
Create the interview agent
Choose how to set up the new agent:Option A - Generate from job description: HeyMilo analyzes the job and generates custom questions automatically. Good for roles where you want a fresh set of questions every time.Option B - Use a template (recommended): Select a pre-built template. Your template’s questions and settings load in. From here, you have question-level control: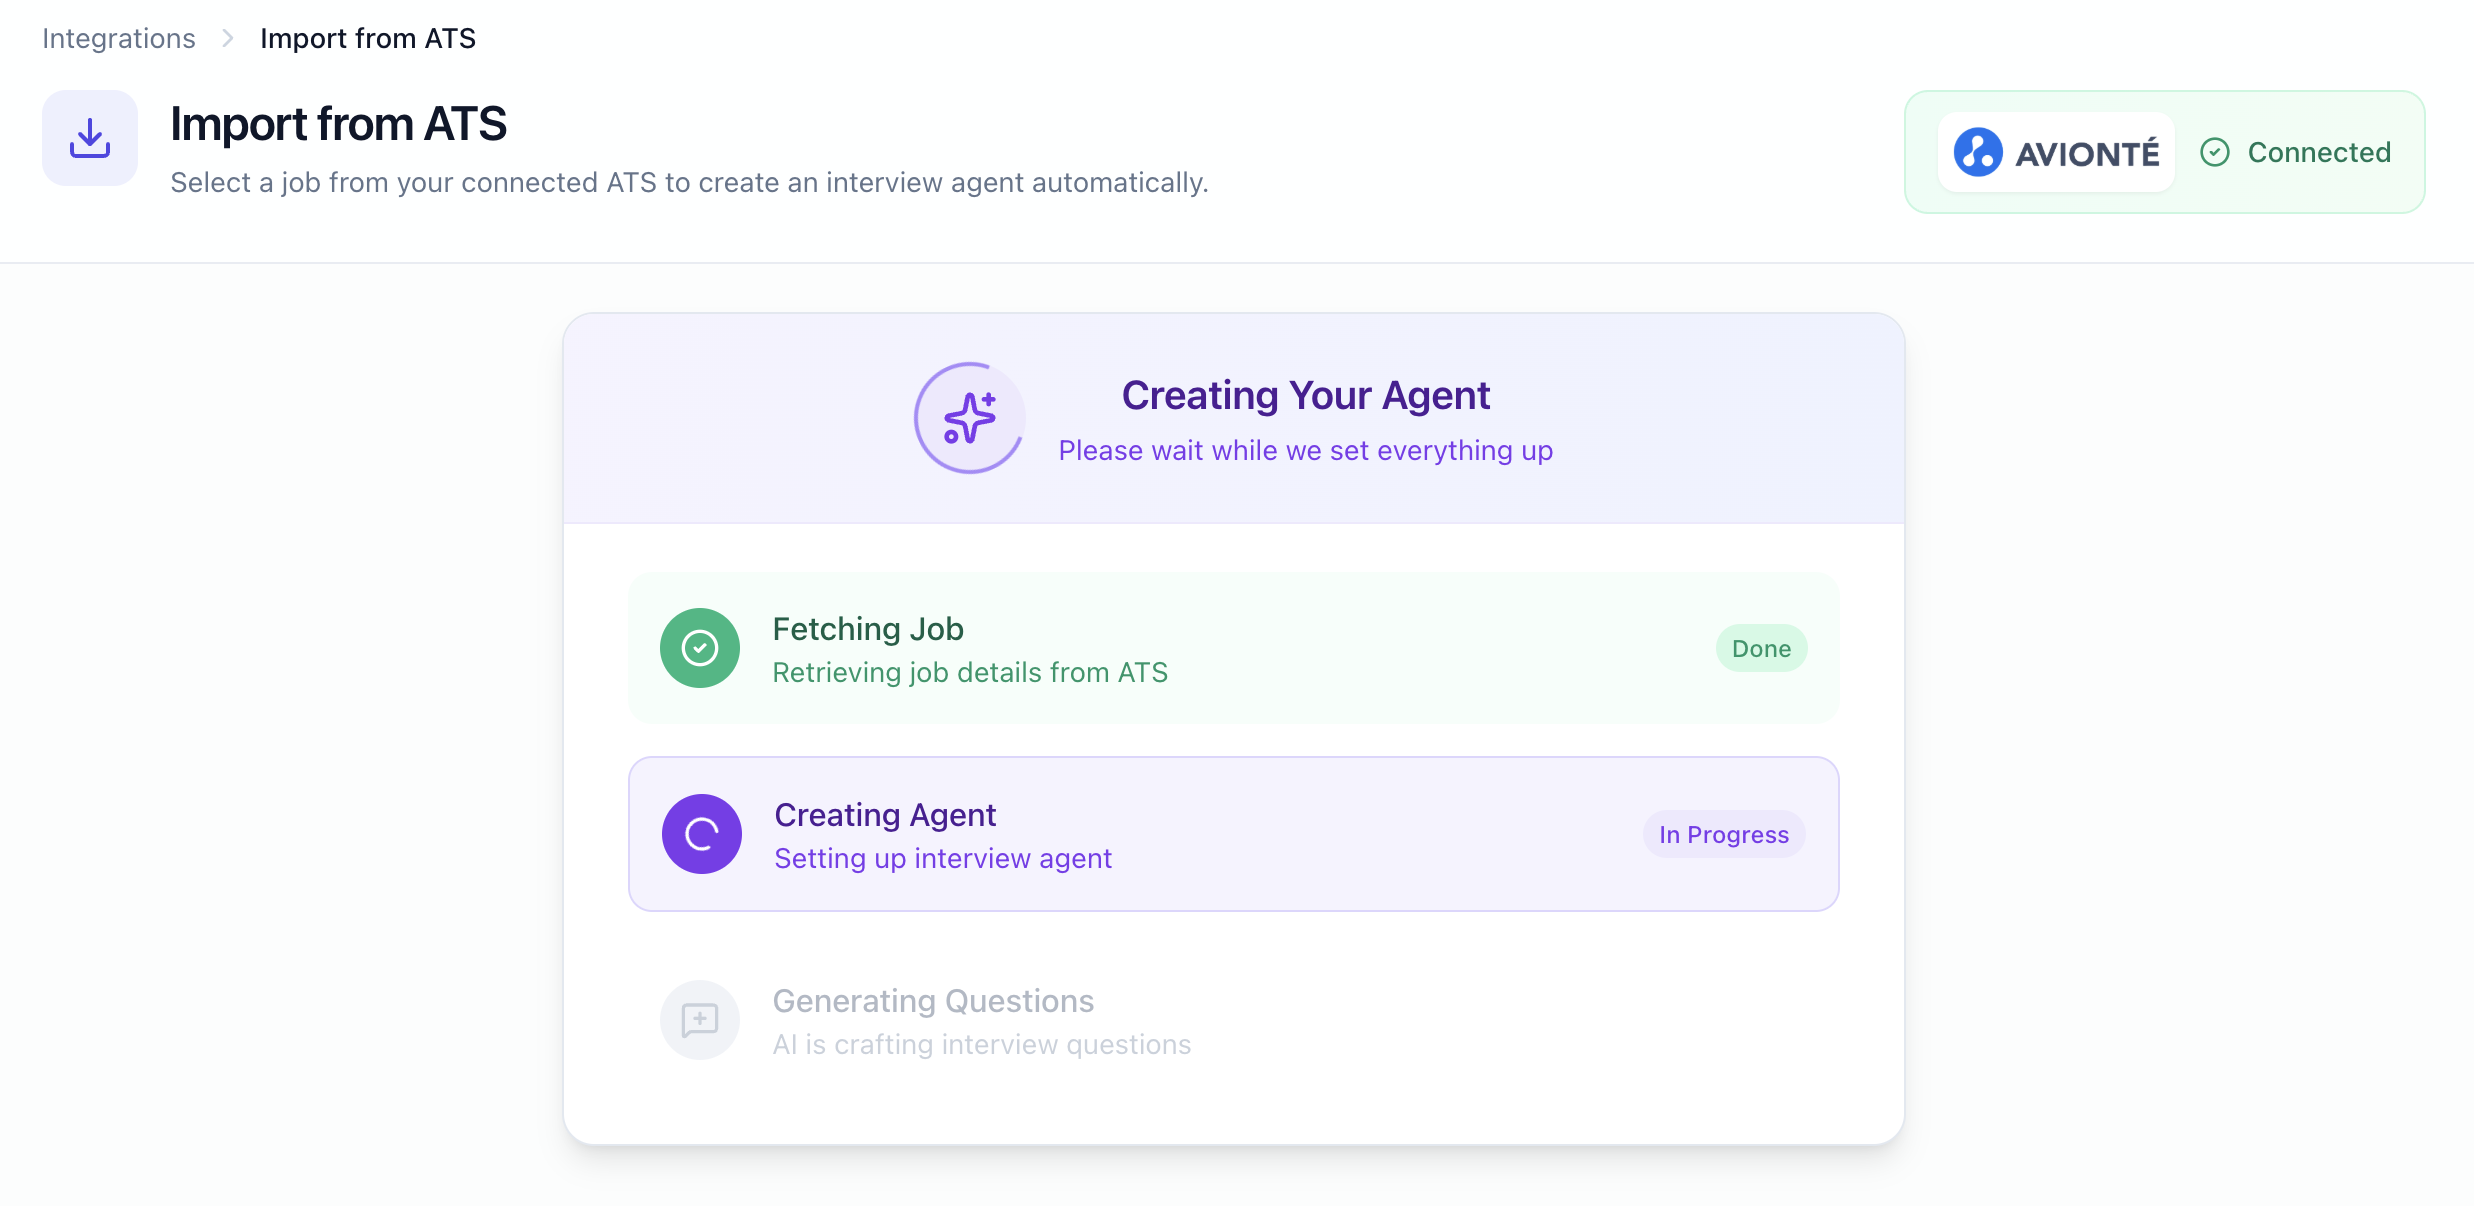
- Keep a question: leave it checked. It carries over exactly as set in the template.
- Replace a question: uncheck it. HeyMilo will generate a new question for that slot based on the job description instead.
Activate the ATS sync inside the agent
After the agent is created, the ATS sync is not active by default. This is intentional — it prevents candidates from flowing in before you’re ready.To activate it:
- Open the new agent from your dashboard.
- Go to the Integrations tab.
- Turn on the ATS sync for that agent.
Backfill candidates (optional)
If candidates applied to this job in your ATS before you created the HeyMilo agent, they won’t be pulled in automatically. To backfill them:
- Open the agent → Integrations tab.
- Click Import.
When to use Import from ATS
- You have jobs in your ATS and want a HeyMilo interview agent for each without building them manually.
- You want AI to draft interview questions from the job description so you don’t start from a blank page.
- You want new agents to stay aligned with the job title, location, and ID in your ATS.
- You want to mix template questions with job-description-generated questions — keeping consistent questions across roles while tailoring others per req.
Tip: Use the search box to find jobs by title, location, or ID. If you don’t see the job you need, click Sync to refresh the list from your ATS, or check that your ATS connection is healthy in Integrations.